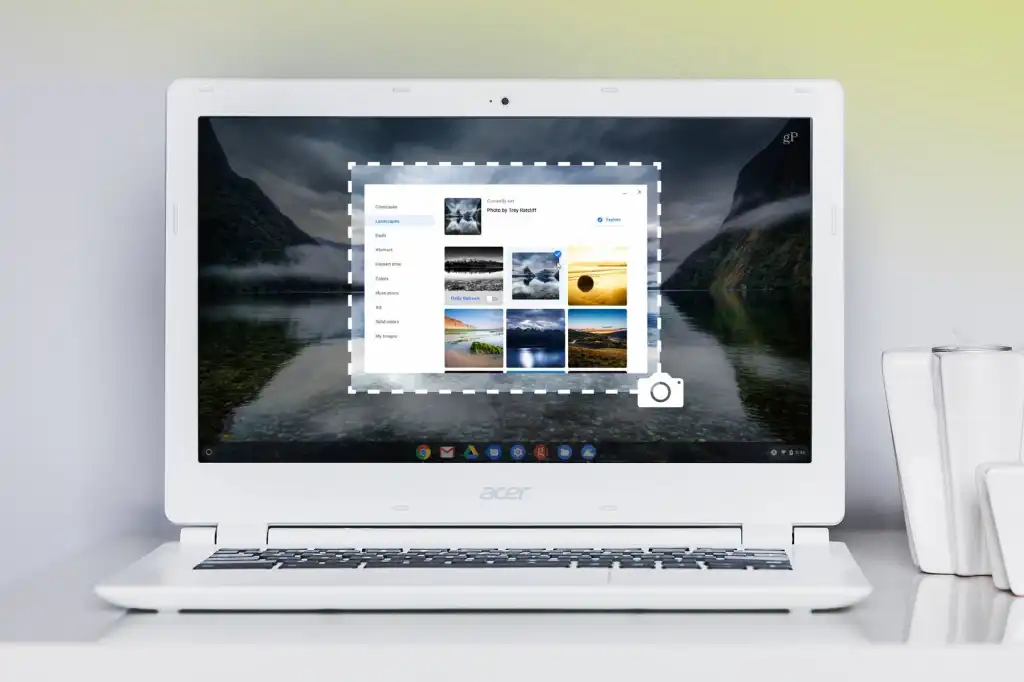
Chromebooks have become increasingly popular due to their affordability, simplicity, and speed. They are lightweight laptops that run on Google’s Chrome OS and are designed to be easy to use and operate. One of the most valuable features of a Chromebook is the ability to take a screenshot quickly and easily.
This step-by-step guide will show you how to take a screenshot on Chromebook. Whether trying to capture an image or save a webpage, these simple steps will help you finish the job in no time. So let’s get started!
- Locate the object or screen you want to capture.
- Press the “Ctrl” and “Switch window” keys simultaneously. The “Switch window” key is usually located in the top row of the keyboard and has an icon that looks like a rectangle with two lines on the right side.
- To capture the entire screen, simultaneously press the “Ctrl” key and the “Switch window” key.
- You will hear a camera shutter sound, and the screenshot will be saved in the “Downloads” folder.
- If you want to view the screenshot immediately, click on the notification in the screen’s bottom right corner.
- To view the screenshot later, open the “Files” app and navigate to the “Downloads” folder.
- If you want to capture a specific area of the screen, press “Ctrl” + “Shift” + “Switch window” at the same time.

- Click and drag the cursor over the area you want to capture.
- Release the mouse button, and the screenshot will be saved in the “Downloads” folder.
- To view the screenshot, follow steps 5 and 6 above.
That’s it! You’ve successfully taken a screenshot on your Chromebook.